In this blog post, I’m going to walk you step by step on optimizing your images for your website.
When working on getting your site’s SEO up to day, there are many factors to consider. One of the biggest issues I see with many websites is having images that are too large. Having images that haven’t properly been compressed for your website can cause your site to load slowly, thus increasing your bounce rate. In today’s fast paced world, it is critical to get your website to load as fast as possible.
Export Your Images From Lightroom
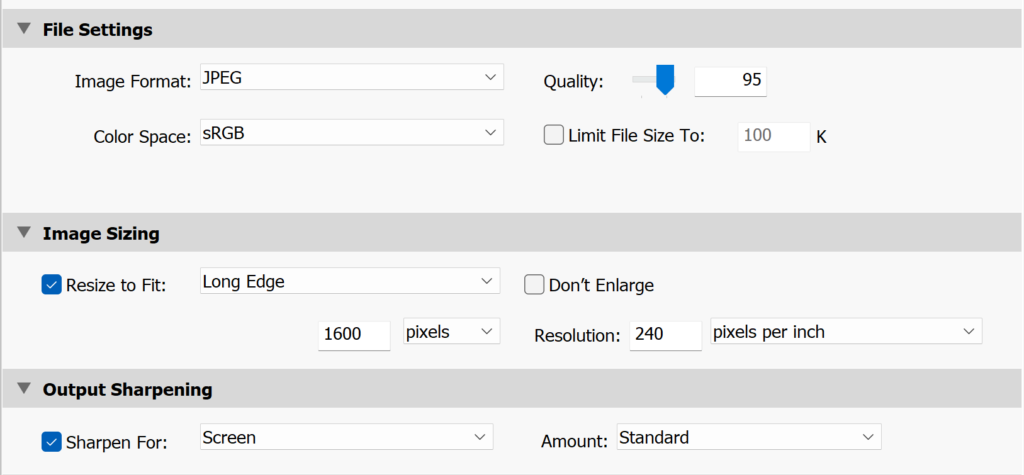
If you are using Lightroom for your images, you will want to export a smaller web size version. Below are what I recommend setting your export settings at to achieve a more compressed image right from Lightroom.
– You will want to decrease the quality a little bit. I like to set my quality around 95.
– For the Image Size, check the “Resize to Fit” button and then select “Long Edge”. Set the pixels to 1600, and the resolution to 240 pixels per inch.
– Under “Output Sharpening” select sharpen for screen.
If You Don't Use Lightroom, Make Sure You Resize Your Images
If you are using Canva or another software, make sure that your images are resized to a smaller size. 1600 pixels on the long end is good to ensure that things are small. The exception to this is if you are using an image as an icon on your site and it will be displayed very small, you will want to resize it before you upload it to your website to be as close to the size it will be displayed as possible.
Rename Your Files
Rename your files to include your keyword that you are targeting for your site, but ensure that it is relevant to whatever you are talking about. Perhaps there is a notable place that the photo was taken, or perhaps you wish to describe what is in the photo. Keep it brief and don’t over think it.
Compress Your Files Further
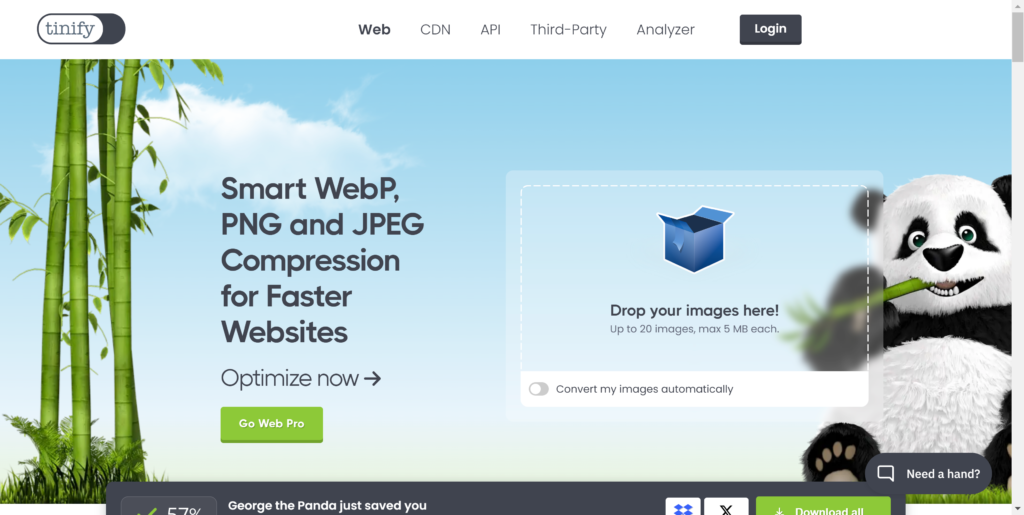
The next step I like to take with all images is to compress them even further by uploading them to a website called “Tiny PNG” Tiny PNG takes your images and compresses them for you. Generally, you can expect to reduce the size of your files by 25%-50% without a significant reduction in quality. This service is currently free to use and allows you to easily run all your images through it as long as they are under 5mb.
Upload To Your Website
Once compressed, you can then upload and use the images on your website. I always recommend, if possible to do these steps on pre-existing website pages that might not have been previously optimized. This will give you the best loading time and the best chance of getting people to stay on your site longer, thus increasing your SEO and your rankings on Google!